How to set up an IPv6 connection on TP-Link ISP-customized devices

02-14-2026
4383
NB425v V1, NE225-Outdoor V1, VB433v V1, NE211-Outdoor V1, NE210-Outdoor V1, VB400v V1, NX620v V2, VX800v V1, EB810v V1, HB810 (EU) V1, VX420-G2h V2, HB810 V1, VX420-G2h V3, HB710 V1, HB710 (EU) V1, HB615 V1, HB610 (EU) V2, HB610 V2, HB410 (EU) V1, HB210 Pro (EU) V1, Deco X53-DSL V1, HB210 Pro V1, HB210 V1, Deco BE28 V1, VX231v V1, XGB830v V1, HX716 Pro V1, VX230v V1, HX710 Pro V1, XGB430v Pro V1, XGB430v V1, VX220-G2v V1, EB610v V1, XB430v V1, XX532v V1, EB431v V1, XX530v V2, VC321-G2v V1, HX710 V1, XX530v V1, Archer VR1210v V1, XX530 V2, Archer VR1210v V2, HX510-Outdoor V1, VC221-G3v V1, HX510-PoE V1, Archer VR1600v V1, HX510 V1, EB200v Pro V1, HX510 V2, HX520 V1, HX521 V1, HX220 V1, XX231v V1, EB210 Pro V1, HX141 V1, VC220-F3v V1, XX230v V1, VN020-F3 V1, HC220-G5 V1, EB210 V1, TD-W8961N V1, XC220-G3 V1, XC220-G3v V2.30, XN020-G3v V1, NX520v V1, XN020-G3 V3, NX510v V1, XN020-G3 V2, NX511v V1, EX920 V1, NX220v V1, MX515v V1, MX110v V1, EX820v V1, Deco X58-4G V1, EX710 Pro V1, EX710 V1, EX510 Pro V1, EX510 V1, EX511 V2, EX520 V1, EX520v V1, EX521 V1, EX530v V1, Archer MR600 V2, Archer MR600 V1, EX220 V1, Archer MR400 V4, Archer MR400 V3, Archer MR400 V2, EX222 V1, XGZ030v V2, XGZ030 V1, XGZ030 V2, EX230v V1, XGZ032v V1, TL-MR6500v V1, XGZ032 V1, XZ005-G6 V1, EX141 V1, XZ000-G6v V1, XZ000-G6 V1, EC225-G5 V1, XZ001-G7 V1, XZ001-G6 V1, EC223-G5 V1, EC220-G5 V3, EC220-G5 V2, XZ000-G7 V1, XZ000-G7 (UPC) V1, EC220-F5 V1, TL-WR850N V1, DS-P8000-X7 V1, DS-P8000-X2 V1, DS-LGPA-16 V1, DS-LGPA-08 V1, DS-P7500-16 V1, DS-P7501-08 V1, DS-P7500-08 V1, DS-P7001-16 V1, DS-P7001-08 V1, DS-P7001-04 V1, DS-P7001-01 V1, DS-ETPA-1U V1, PSM150-DC V1, TL-SM7110-SR V1, DS-PMA-C++ V2, DS-PMA-Combo C+ V1, DS-PMA-C+ V1, DS-PMA-C+ V2, XGM80A V1, XM60A V1

Introduction

If your ISP has provided internet that supports IPv6 connection as well as some detailed IPv6 parameters, you can manually set up an IPv6 connection.

Configuration

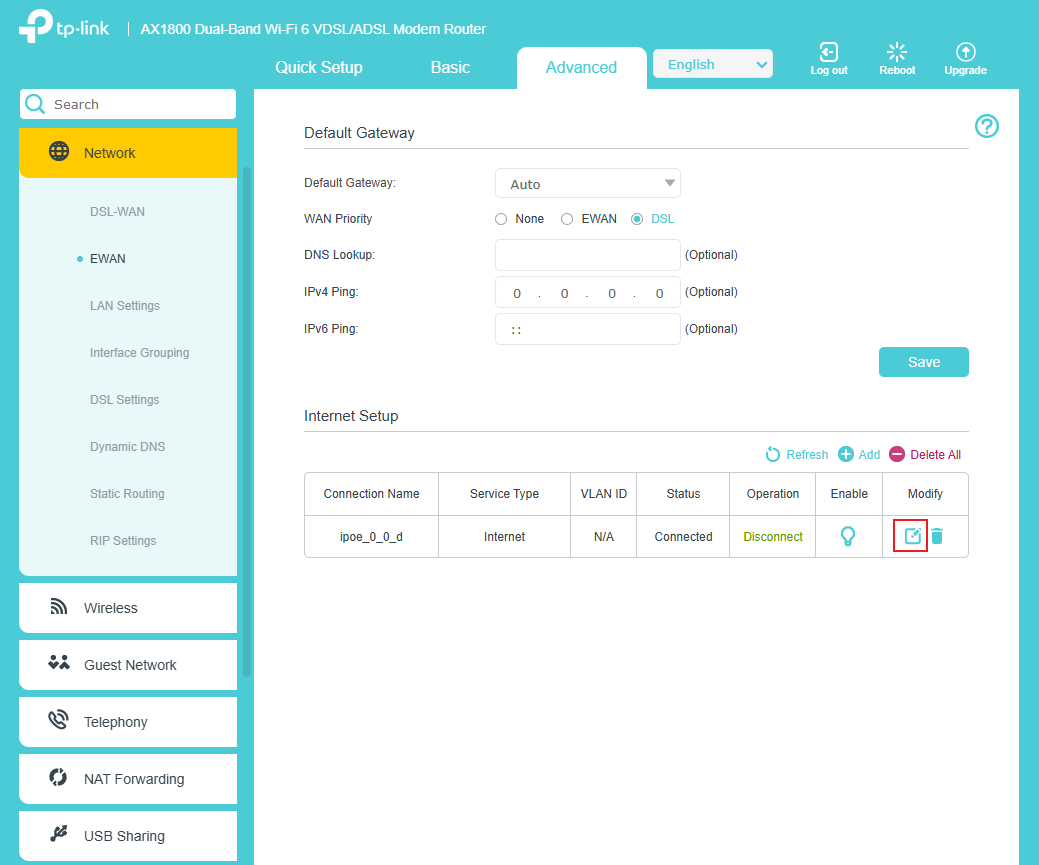
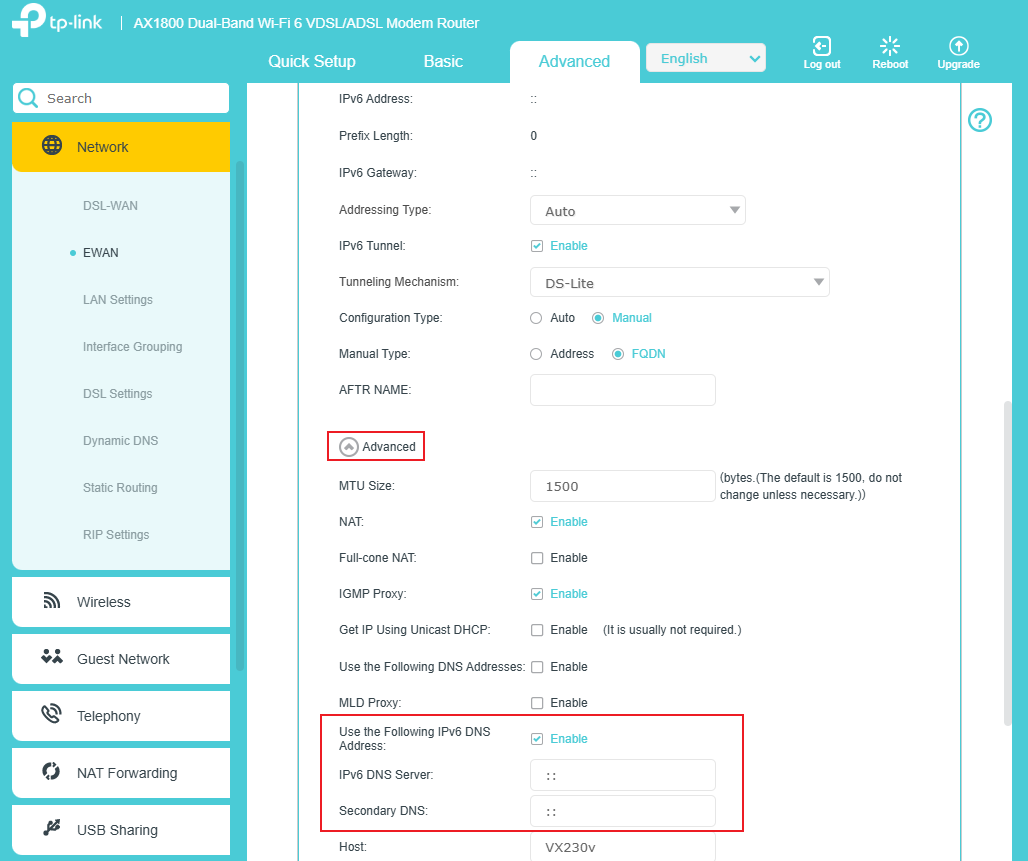
Step 1. Go to Advanced > Network page, select the WAN connection you want to use, then click Edit.

Editing WAN connection button.

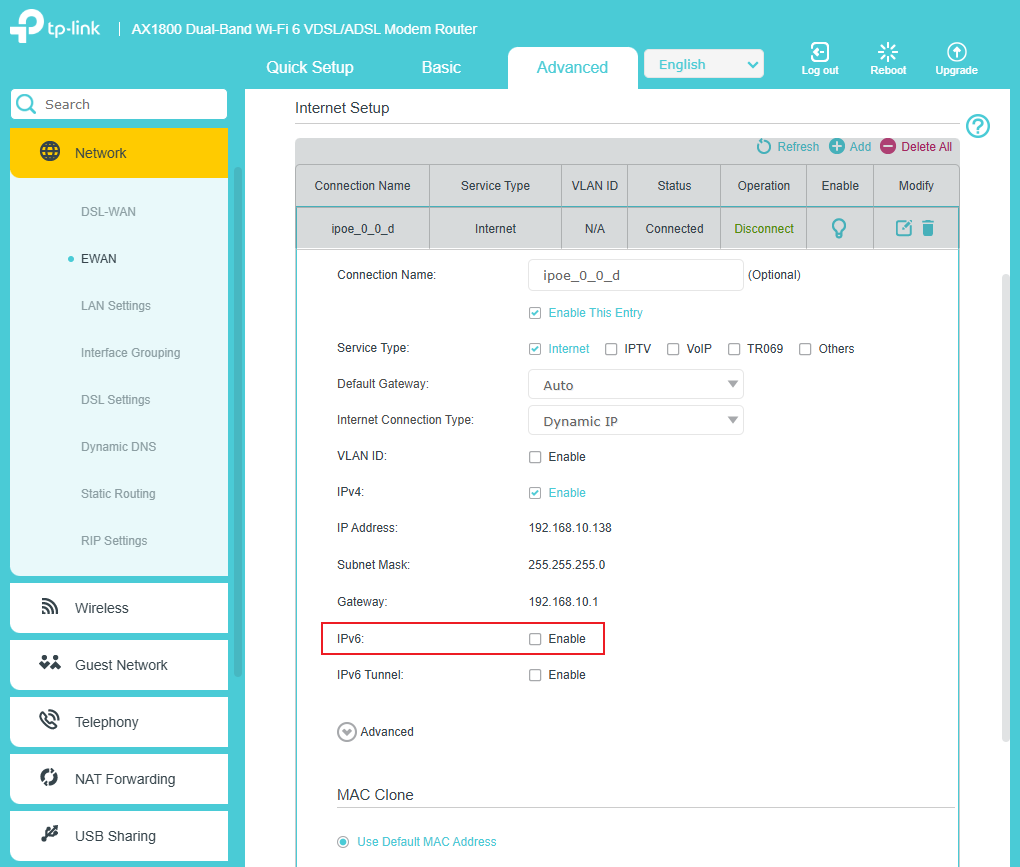
Step 2. Enable IPv6.

Enable IPv6 checkbox.

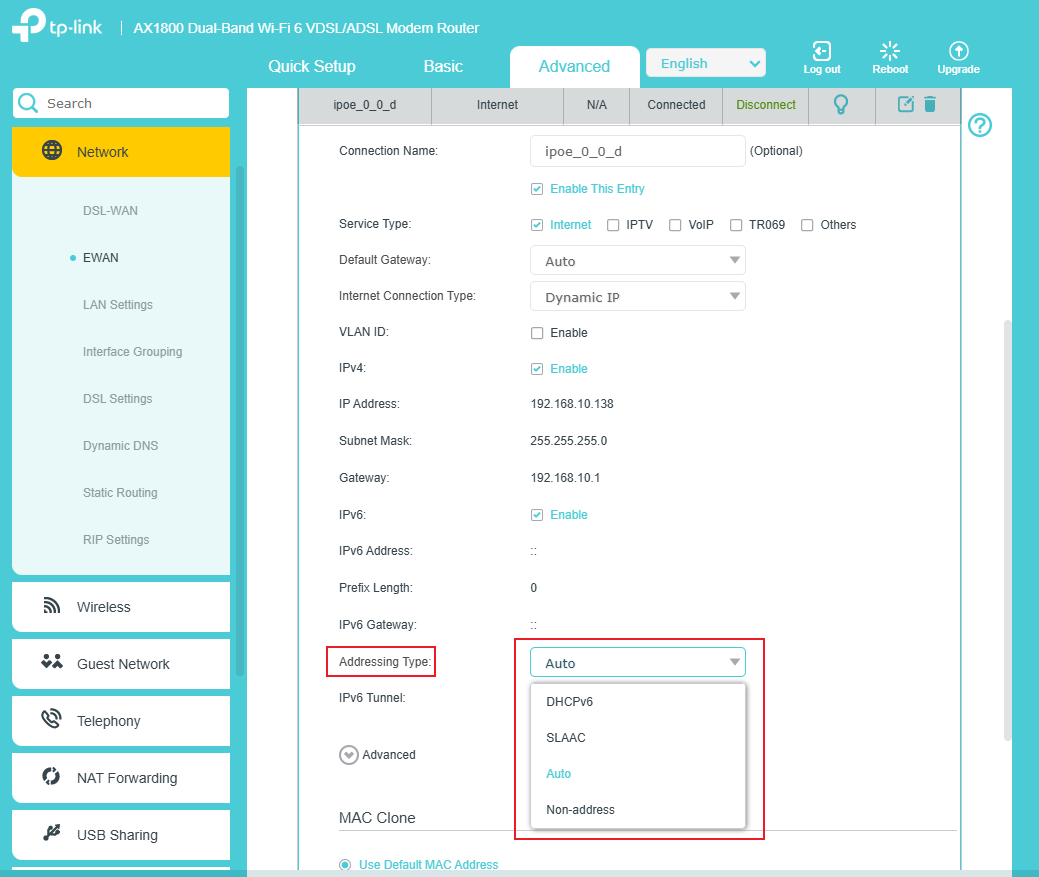
Step 3. Select Addressing Type. (Consult your ISP for this information)

IPv6 Addressing Type.

Step 4. If you need to use IPv6 Tunnel, enable it and select Tunneling Mechanism. (Consult your ISP for this information)

IPv6 Tunneling Mechanism.

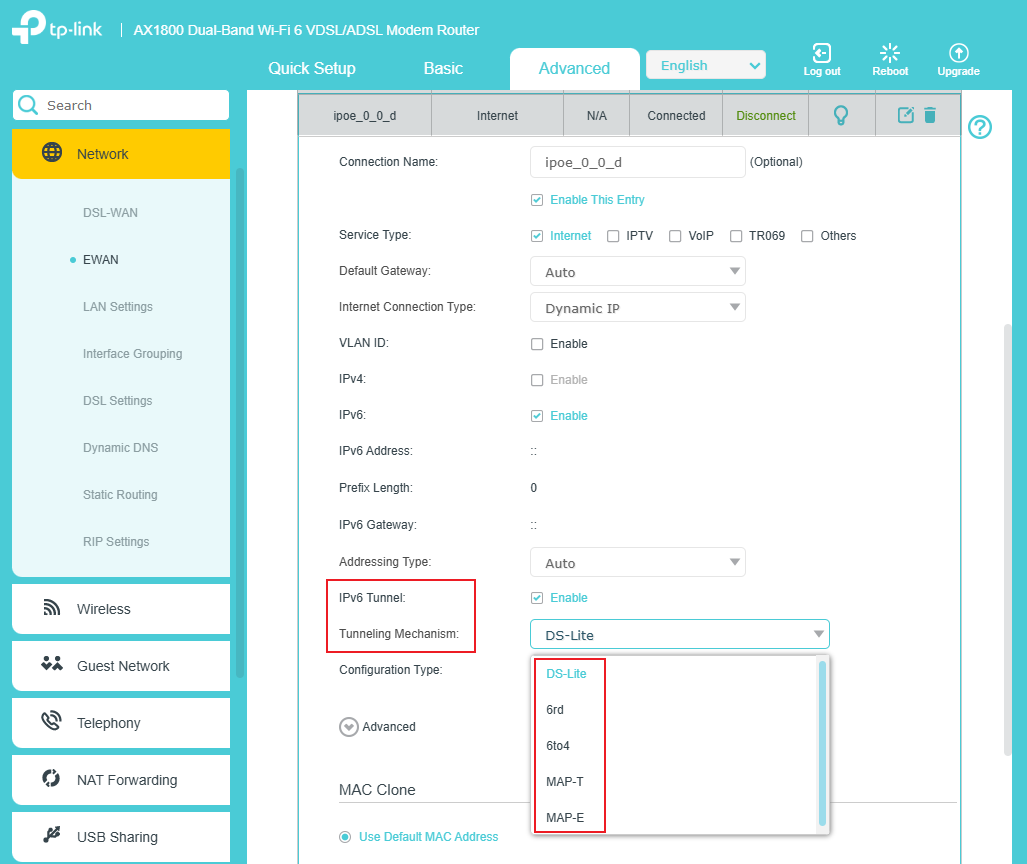
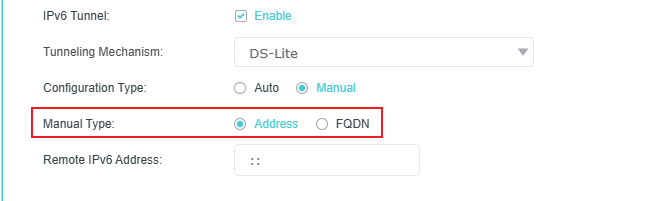
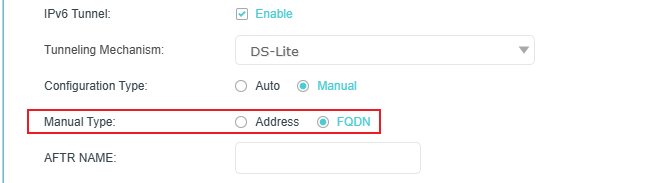
Step 5. Choose Configuration Type. If you select Manual, you should select Manual Type and fill in the relevant information. (Consult your ISP for this information)

Select “Address” as the Manual Type.

Select “FQDN” as the Manual Type. 

Step 6. If you need to use a specific IPv6 DNS server, configure it in the Advanced settings.

Advanced settings of WAN connection.

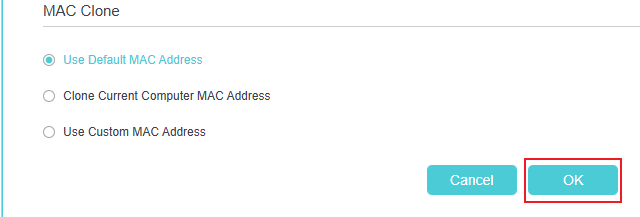
Step 7. Click OK to apply the settings. Now IPv6 service is available for your network.

"OK” button.

Get to know more details of each function and configuration please go to Download Center to download the manual of your product.