How to configure TP-Link Router in Access Point mode(case2)
In this mode, your router connects to your existing router via an Ethernet cable and extends the wireless coverage of your existing network. Advanced functions like NAT, Parental Controls, and QoS are not supported in this mode.

Note: Old firmware may not support Access Point mode. If you don’t see this mode, please upgrade the firmware.
Here we take Archer C2300 for demonstration.
1. Connect the router’s Internet/WAN port to the existing network using an Ethernet cable.
2. Visit http://tplinkwifi.net, and log in with your TP-Link ID or the password you set for the router.
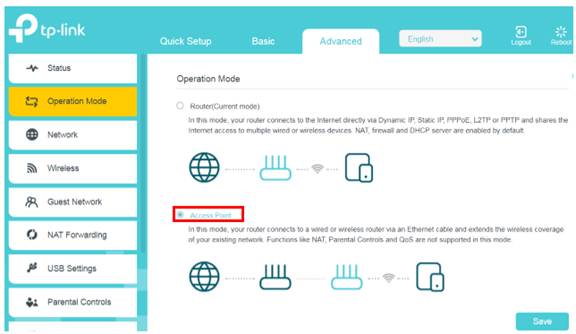
3. Go to Advanced > Operation Mode, select Access Point and click Save. Log in to the router via http://tplinkwifi.net after the router reboots.
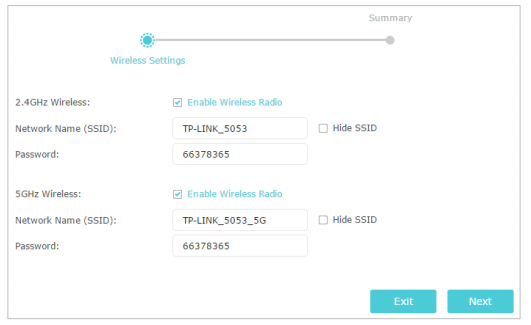
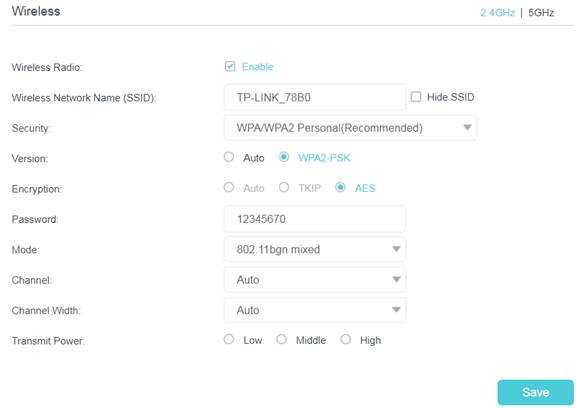
4. Go to Quick Setup or Settings > Wireless > Wireless Settings and set the SSIDs and passwords for the wireless network. Click Next/Save to finish the setting.
Get to know more details of each function and configuration please go to Download Center to download the manual of your product.
