How to set up DDNS (NO-IP) of TP-Link Wireless Dual Band 4G LTE Router (new logo)
Most ISPs (Internet service providers) assign a dynamic IP address to the router and you can use this IP address to access your router remotely. However, the IP address can change any time and you don’t know when it changes. In this case, you might need the DDNS (Dynamic Domain Name Server) feature on the router to allow you and your friends to access your router and local servers (FTP, HTTP, etc.) using domain name, in no need of checking and remembering the IP address.
Note: DDNS does not work if the ISP assigns a private WAN IP address (such as 192.168.1.x) to the router.
Here takes Archer MR200 as demonstration.
Step 1
Please refer to How to log into the web-based management interface of TP-Link Wireless Dual Band 4G LTE Router? (new logo)
Step 2
Go to Advanced > Network> Dynamic DNS. Select the DDNS service provider NO-IP.
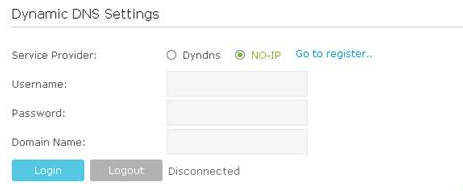
If you DO have account from http://www.no-ip.com, please skip to Step 10. Otherwise, please follow the next steps for how to create account.
Step 3
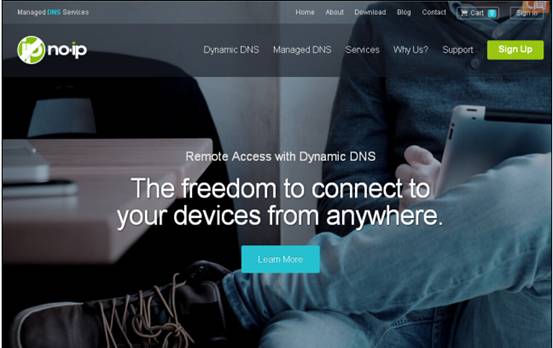
Click on Go to register and you will be redirected to http://www.noip.com,
It will open the home page of NO-ip.
Step 4
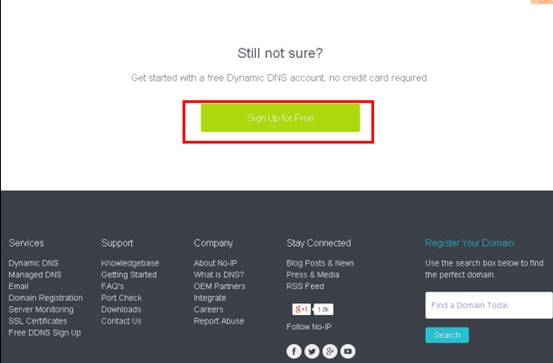
Scroll down this home page to the very bottom and click Sign Up for Free
Step 5
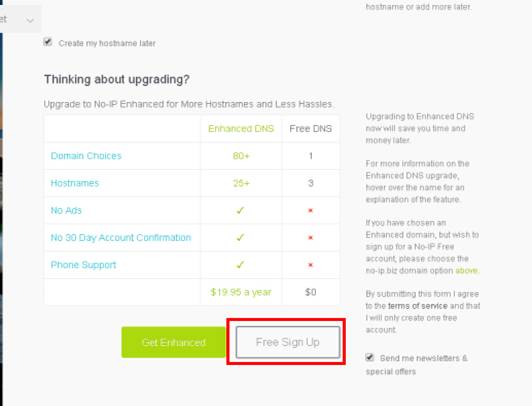
Type in the required information (Username, Email, and Password) to create a new account.
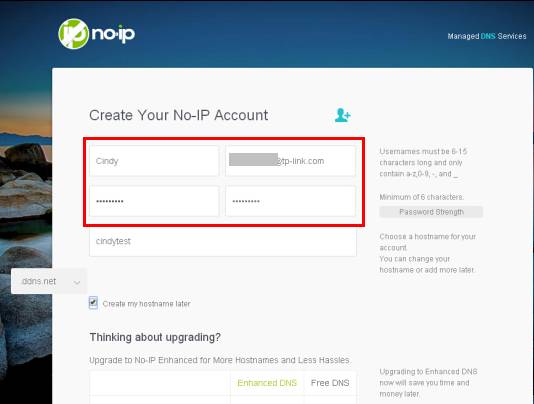
Then click Free Sign Up at the bottom of this page.
Step 6
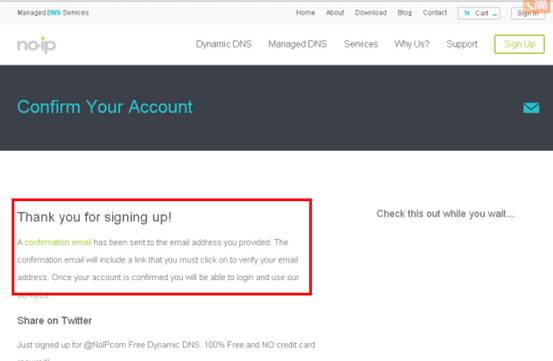
No-IP will send a confirmation mail to your email box which contains an activation link. Go to your mail box and check the mail.
Step 7
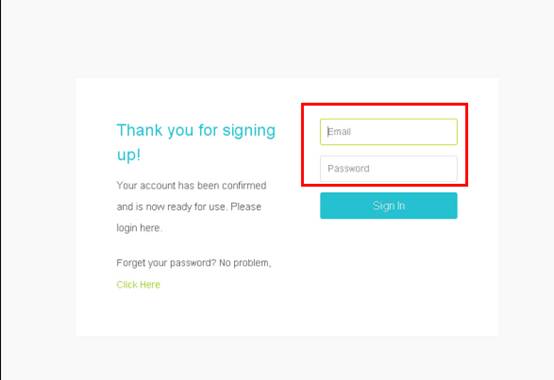
After click the activation link you will be able to login with your username and password.
Step 8
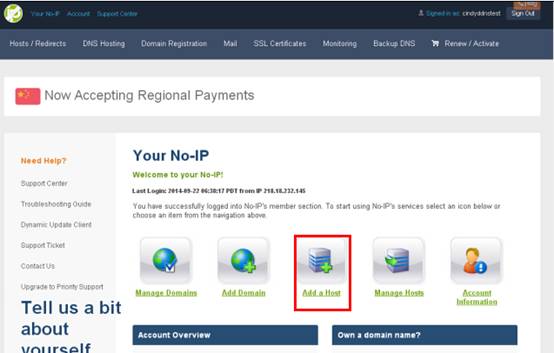
After login, please choose Add a Host.
Step 9
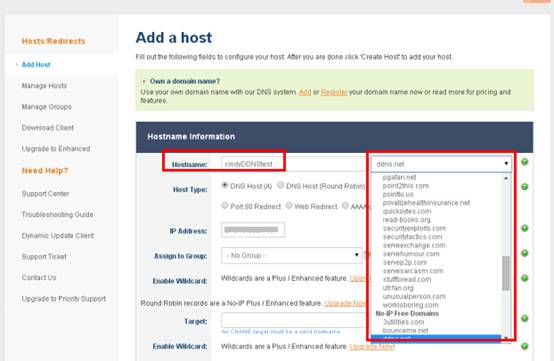
You can then choose a free DDNS domain you like from the drop-down list. For example you can choose ddns.net. Then create a Hostname for the DDNS.
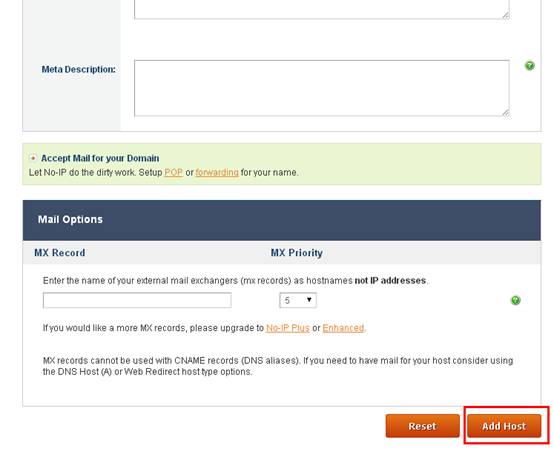
Then scroll down this page and click Add Host
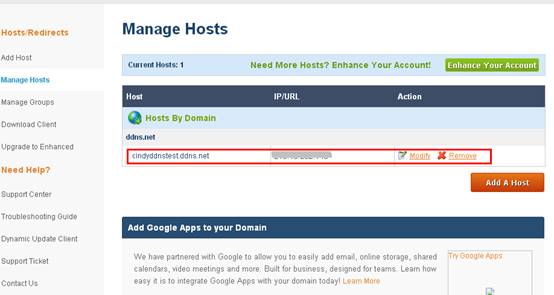
You will see the created host in the list
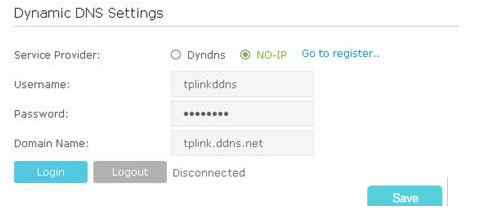
Enter the Username, Password and Domain Name you created on NO-IP website and click Login button and click Save.
Tips:
If you want to use a new DDNS account, please log out first, then log in with the new account.
Get to know more details of each function and configuration please go to Download Center to download the manual of your product.
